Introduction
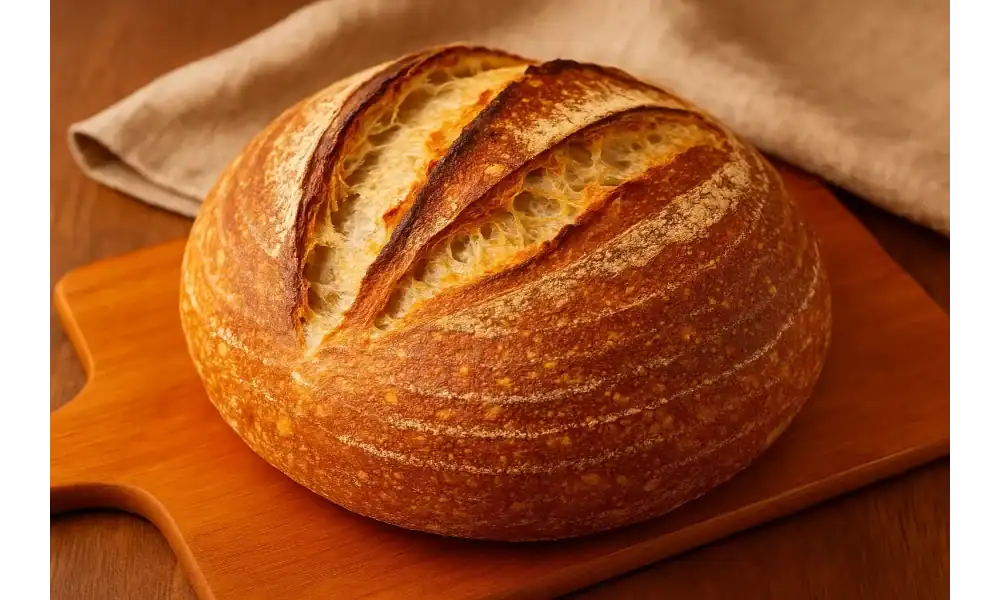
Welcome to the world of authentic San Francisco sourdough bread. This bread is more than just food — it’s a piece of San Francisco’s history. Bakers love it for its wild yeast, bold tangy flavor, and crackly crust.
You don’t need to live in San Francisco to taste this magic. I’ll show you simple steps to make this bread at home. No fancy tools needed. Just a bit of time and care.
In this guide, you’ll learn how to create a healthy sourdough starter. You’ll mix and shape your dough like a pro. You’ll master baking so your loaf comes out golden, crisp, and full of flavor.
Baking sourdough brings joy to your kitchen. It smells amazing and tastes even better. Try this recipe and share it with friends and family. Let’s bake the best San Francisco sourdough bread at home together. You can do it — and I’m here to help every step of the way.
For more pastry recipes, try our:
- Ciabatta vs. Focaccia: Which Italian Bread Is Best for Your Recipe?
- How to Make the Best Italian Focaccia Bread at Home
- How to Make Ciabatta Bread with Perfect Airy Holes
- Classic Sourdough Bread: How to Make the Perfect Loaf at Home
- Easy Banana Bread Recipe: A Classic Treat in Just 10 Steps
Understanding The Authentic San Francisco Sourdough Bread
The History Behind San Francisco Sourdough
San Francisco sourdough has deep roots. It started during the Gold Rush. Miners and settlers loved its rich taste. Famous bakeries in San Francisco keep this tradition alive today.
What Makes It Different from Regular Sourdough
This bread stands out because of its unique bacteria. Lactobacillus sanfranciscensis grows naturally in the Bay Area. It mixes with wild yeast to create the true San Francisco sourdough bread flavor.
Why the Tangy Flavor?
The tangy bite comes from lactic acid and wild yeast working together. They give each loaf its sharp taste. No other sourdough tastes quite like it.
Is It Hard to Make at Home?
Many people think it’s hard. It’s not. With clear steps, anyone can bake real San Francisco sourdough bread at home. All you need is time and patience.
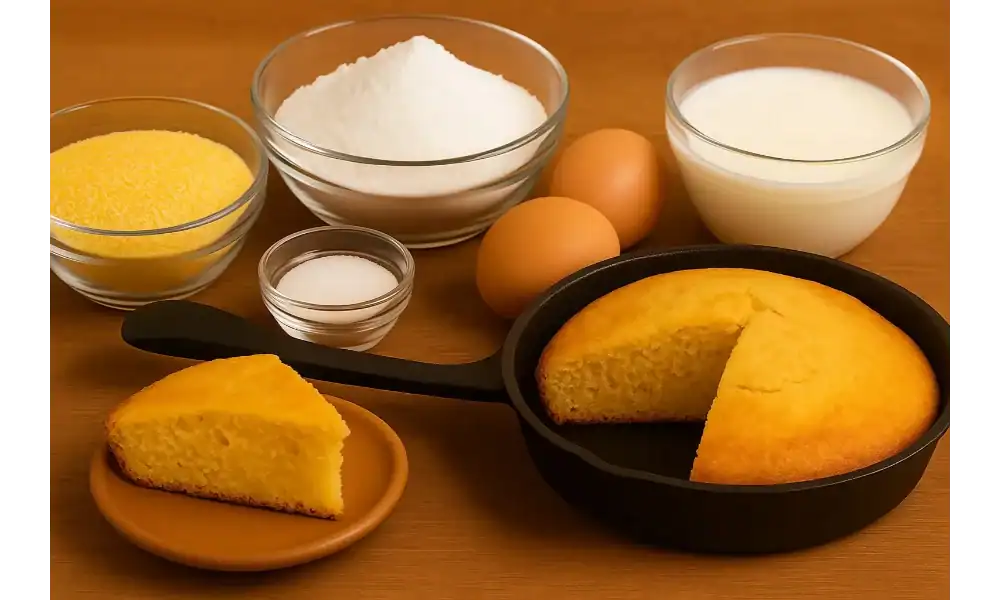
Essential Ingredients for Authentic Taste
Keep it simple. Use strong bread flour, fresh water, sea salt, and a healthy sourdough starter. These basics help you get the best flavor and crust every time.
Creating and Maintaining a Sourdough Starter
What is a Sourdough Starter?
A sourdough starter is a mix of flour and water. Wild yeast and friendly bacteria grow in it. This mix makes your San Francisco sourdough bread rise and taste tangy.
How to Make Your Own Starter
Mix equal parts flour and filtered water in a clean jar. Leave it at room temperature. Feed it fresh flour and water every day. In five to seven days, it will bubble and smell sour. Now you have your own starter!
Tips to Keep Your Starter Healthy
Feed your starter daily if you bake often. If not, store it in the fridge and feed it weekly. Keep it warm but not too hot. Good care gives you better homemade sourdough bread every time.
Troubleshooting Common Starter Problems
Sometimes starters look odd. A bit of liquid on top is normal. Just stir or pour it off. If you see mold, toss it and start over. If there are no bubbles, keep feeding. Be patient — it will come to life!
Using Store-Bought vs. Homemade Starter
Both work well. A homemade starter gives more pride and flavor. A store-bought one saves time. Choose what fits your baking style. Either way, you can bake tasty San Francisco sourdough bread at home.
Mixing and Preparing the Dough
Autolyse: Why Let the Dough Rest First
Always rest your flour and water before adding other ingredients. This step is called autolyse. It helps gluten form naturally. Your San Francisco sourdough bread will get better texture and taste.
Incorporating Starter and Salt Correctly
Add your active starter and salt after autolyse. Mix them gently but well. Good mixing keeps the dough strong and airy. Timing matters for great homemade sourdough bread.
Stretch and Fold Method Explained
Instead of kneading, use stretch and fold. Lift one side of the dough and fold it over. Turn the bowl and repeat. Do this every 30 minutes for a few rounds. This builds strength without tearing.
How to Tell When Bulk Fermentation Is Done
Watch your dough. It should grow bigger and look smooth. Gently poke it. If it springs back slowly, it’s ready. Proper fermentation means better rise and crust.
Shaping Your Loaf the Right Way
Shape your dough with care. Tuck and turn it to build surface tension. This helps your San Francisco sourdough bread hold its shape while baking.
Mastering the Bake: From Proofing to Oven
Why Cold Proofing Enhances Flavor
Cold proofing makes your San Francisco sourdough bread taste amazing. Let the shaped dough rest in the fridge overnight. Slow fermentation builds rich, deep flavor. It also makes the crust better.
Scoring: Art and Purpose
Scoring helps your bread rise well in the oven. Use a sharp knife or bread lame. Cut quick, clean slashes on top. Good scoring lets steam escape and forms a pretty design.
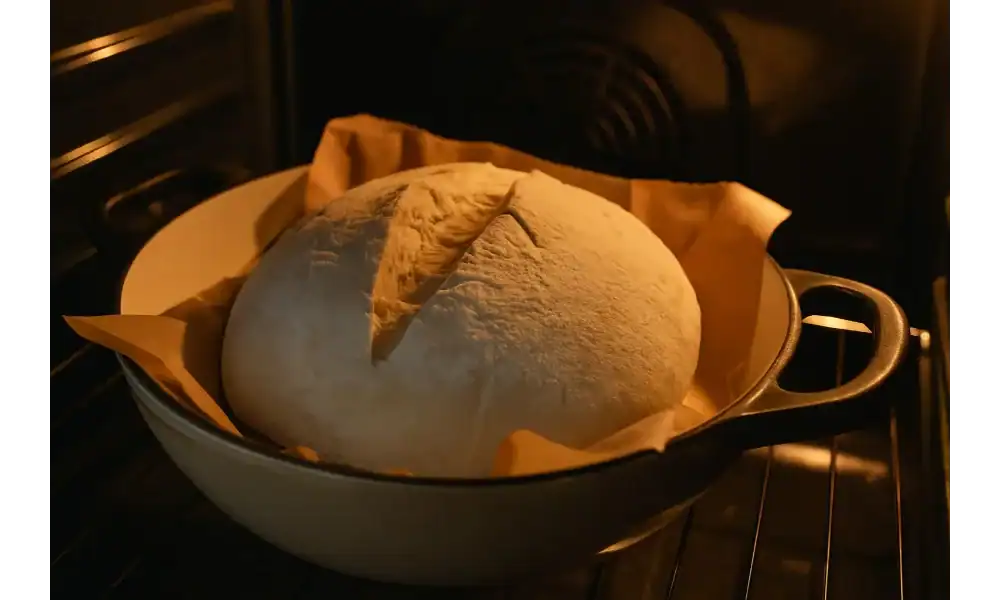
Baking with a Dutch Oven or Baking Stone
A hot Dutch oven traps steam. This steam makes your crust crisp and shiny. If you use a baking stone, add a tray of water for steam. Both methods help you bake bakery-level homemade sourdough bread at home.
How to Get That Signature Crust and Crumb
Bake your bread in a very hot oven. Start covered for steam, then finish uncovered for color. High heat and steam give a crackly crust and soft, open crumb.
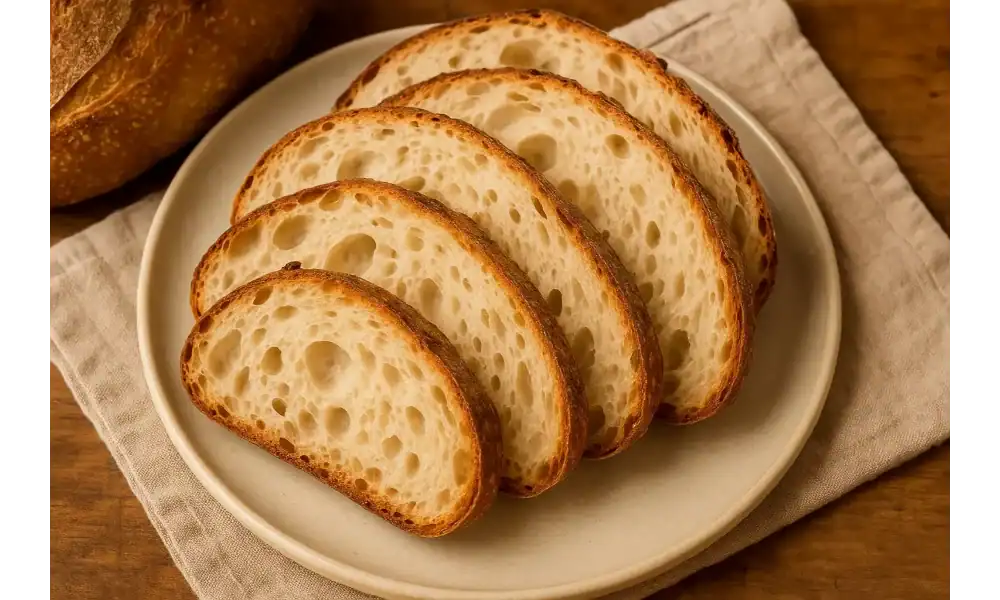
Cooling: Why Patience Pays Off
Let your fresh bread cool on a wire rack. Wait at least one hour before slicing. Cutting too soon can ruin the crumb. Patience gives you perfect slices and full flavor.
Tips, Tricks, and Serving Suggestions
Common Mistakes to Avoid
Don’t rush the process. Give your dough enough time to ferment. Always use a strong starter. Shape your loaf gently to keep the air inside. Bake at the right temperature. Fix these mistakes to get perfect San Francisco sourdough bread every time.
How to Store Sourdough Properly
Keep your bread fresh longer. Wrap it in a clean cloth or paper bag. Store it at room temperature. Avoid plastic bags because they soften the crust. For longer storage, freeze slices in a sealed bag.
Delicious Ways to Enjoy Sourdough
Eat it fresh with butter. Make tasty sandwiches. Toast it and add jam or avocado. Dip it in soups or stews. Good homemade sourdough bread makes every meal better.
Creative Variations to Try
Try new ideas. Mix in whole wheat flour. Add seeds for crunch. Knead in herbs like rosemary or thyme. Small changes give fresh flavor to your sourdough.
Resources for Sourdough Lovers
Read good books like Tartine Bread or Flour Water Salt Yeast. Follow baking blogs for new tips. Join online sourdough groups. Learn more and share your baking wins.
Authentic San Francisco Sourdough Bread recipe
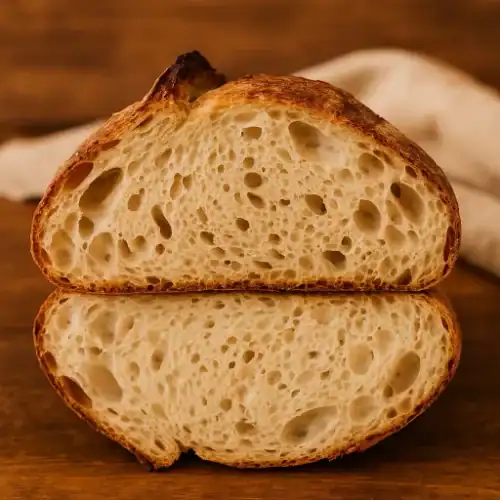
Authentic San Francisco Sourdough Bread recipe
Ingredients
Method
- Feed Starter: Make sure your starter is bubbly and active before you start.
- Mix Dough: In a bowl, mix flour and water. Let it rest for 30 minutes (autolyse).
- Add Starter & Salt: Add the sourdough starter and salt. Mix well by hand until combined.
- Stretch & Fold: Let dough rest 30 minutes. Then do 3–4 rounds of stretch and fold every 30 minutes.
- Bulk Ferment: Cover and let it rise at room temperature until doubled (about 4–6 hours).
- Shape & Proof: Shape into a round loaf. Place in a floured bowl or proofing basket. Cover and refrigerate overnight (8–12 hours).
- Preheat & Bake: Preheat oven to 475°F (245°C) with Dutch oven inside. Place dough on parchment, score the top, and bake covered for 20 minutes, then uncovered for 20–25 minutes until golden brown.
- Cool: Let cool on a wire rack for at least 1 hour before slicing.
Frequently Asked Questions (FAQs)
1. Can I make San Francisco sourdough bread without a starter?
No. You need an active sourdough starter to get the real tang and rise. A starter is the heart of true sourdough bread.
2. What flour is best for San Francisco sourdough bread?
Use high-protein bread flour. It makes strong gluten, which gives the loaf a good rise and chewy bite.
3. Why didn’t my sourdough bread rise?
Check your starter first. It must be active and bubbly. Also, watch your dough’s temperature and fermentation time.
4. Can I bake sourdough bread without a Dutch oven?
Yes! Use a baking stone and place a pan of hot water in the oven to create steam for a crispy crust.
5. How do I make my sourdough more sour?
Ferment the dough longer and use cooler temperatures. A longer, slower rise builds a stronger tang.
Conclusion
Baking authentic San Francisco sourdough bread at home feels amazing. You use simple tools and a few good ingredients. In return, you get warm, fresh bread with a rich, tangy flavor.
I hope you try this recipe soon. Share your photos and baking stories in the comments. I love to see your homemade sourdough loaves!
Don’t fear mistakes. Play with new flours or flavors. Each bake helps you learn and get better.
Thank you for reading and baking with me. Stay connected and subscribe for more easy baking recipes and tips. Let’s keep the sourdough magic alive together!
For more recipes, try our:
- How to Make Adana Kebab Like a Pro – A Classic Turkish Grill Recipe
- How to Make Authentic Doner Kebabs at Home – Easy Step-by-Step Recipe
- How to Make Authentic Doner Kebabs at Home – Easy Step-by-Step Recipe
- Tuna Steaks 101: How to Make Them Tender and Delicious Every Time
- How to Make the Best Tuna Sandwich in Just 10 Minutes