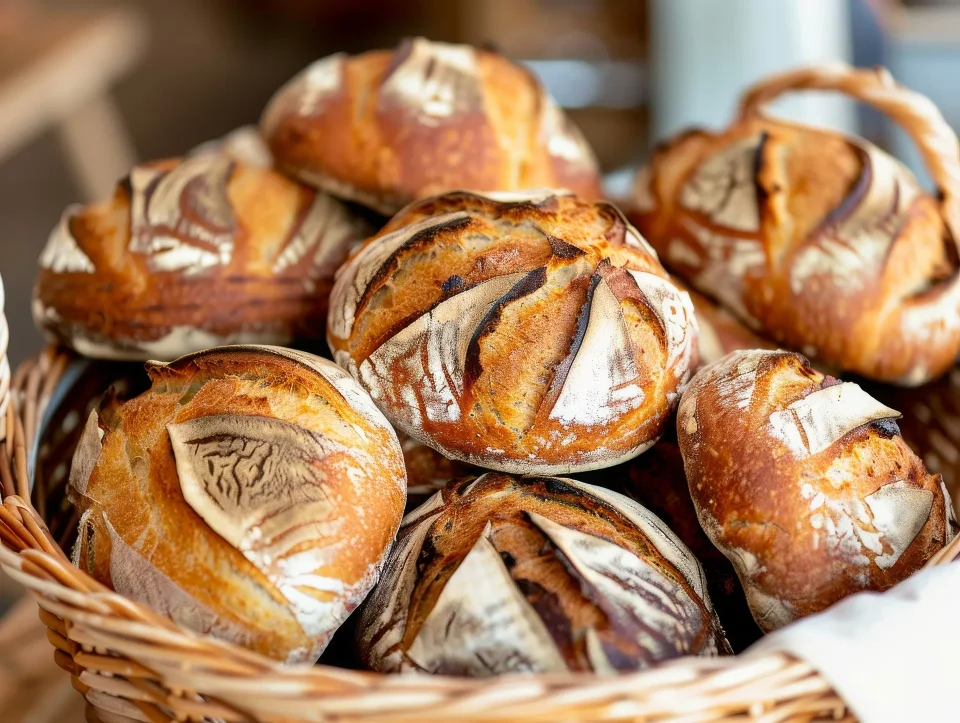
Introduction
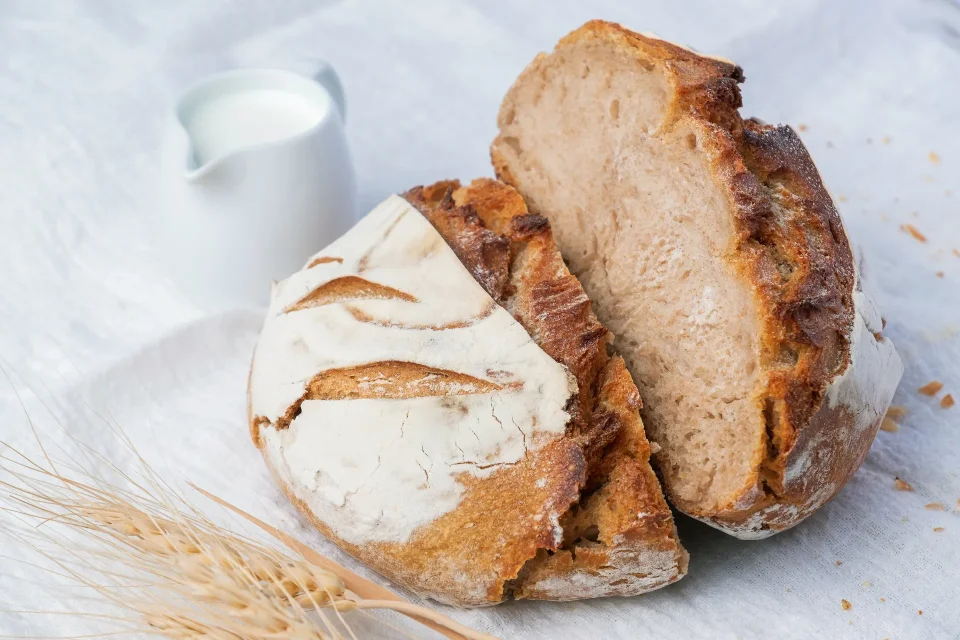
Classic Sourdough bread is loved for its rich flavor, crispy crust, and soft crumb. More people are baking it at home because it’s healthier and full of natural goodness. Unlike store-bought bread, sourdough uses wild yeast instead of commercial yeast. This slow fermentation makes it easier to digest and better for gut health.
Homemade sourdough has no preservatives or artificial additives. It also tastes amazing with its deep, slightly tangy flavor. Plus, baking your own loaf is a fun and rewarding experience.
In this guide, you’ll learn how to make classic sourdough bread from scratch. We’ll cover everything from creating a strong sourdough starter to baking the perfect golden-brown loaf. Whether you’re a beginner or an experienced baker, these tips will help you master the art of sourdough baking. Let’s get started!
Understanding the Basics of Classic Sourdough Bread
What is Classic Sourdough Bread?
Sourdough bread is a naturally fermented bread made with just flour, water, and salt. It doesn’t use commercial yeast. Instead, wild yeast and bacteria from the environment help the dough rise. This slow fermentation process creates a deep, tangy flavor and a soft, airy crumb.
Why Use a Sourdough Starter?
A sourdough starter replaces commercial yeast. It’s a live culture of flour and water that ferments over time. The natural yeast gives the bread a unique taste and texture. It also makes it easier to digest because it breaks down gluten and phytic acid. A well-fed starter improves the rise, crumb, and flavor of your sourdough loaf.
Essential Ingredients for Sourdough Baking
You only need three ingredients:
- Flour – Bread flour works best for a strong dough, but you can also use whole wheat or rye.
- Water – Use filtered or spring water to avoid chlorine, which can weaken the starter.
- Salt – Sea salt or kosher salt enhances the flavor and strengthens the dough structure.
Tools You Need to Make Sourdough at Home
The right tools make sourdough baking easier:
- Banneton – A proofing basket that helps shape the dough.
- Dutch Oven – Traps steam to create a crispy crust.
- Bread Lame – A razor tool for scoring the dough before baking.
With the right ingredients and tools, you’re ready to bake a perfect loaf! Next, let’s create a strong sourdough starter.
How to Make a Strong Sourdough Starter
What is a Sourdough Starter?
A sourdough starter is an active mixture of flour and water that naturally ferments over time. It captures wild yeast from the air and allows natural fermentation. This process creates levain, which helps bread rise without commercial yeast. A strong starter adds a deep, tangy flavor and improves texture.
Step-by-Step Process to Create a Starter
Making a sourdough starter takes patience. Follow these steps:
- Day 1 – Mix ½ cup of flour and ¼ cup of water in a jar. Stir well and cover loosely.
- Day 2-3 – Feed it daily by adding the same amount of flour and water. Mix well and leave it at room temperature to rest.
- Day 4-5 – Bubbles should appear. The starter should have a slightly tangy smell. Continue feeding daily.
- Day 6-7 – It should double in size a few hours after feeding. Now it’s ready to use!
Use unbleached flour and filtered water for the best results. Whole wheat or rye flour speeds up fermentation.
How to Know When Your Starter is Ready to Bake
A mature sourdough starter should be bubbly and rise after feeding. To test if it’s ready, do the float test. Drop a spoonful of starter into water. If it stays on the surface, it’s ready for baking. If it sinks, keep feeding for a few more days.
Troubleshooting Common Sourdough Starter Issues
- Inactive starter? Keep it warm (70-75°F) and feed it regularly.
- Too sour or weak? Discard half before feeding to refresh it.
- Mold growing? Throw it out and start fresh. Use a clean jar and avoid contamination.
With a strong starter, you can bake amazing sourdough bread. Next, let’s mix and ferment the dough!
Step-by-Step Guide to Making Classic Sourdough Bread
Mixing the Dough: Hydration and Autolyse
Start by mixing your flour, water, and sourdough starter. Let the dough rest for 30 to 45 minutes before adding salt. This step is called autolyse. It allows the flour to absorb water and develop gluten naturally. A well-hydrated dough creates a light, open crumb. Use a gentle folding technique instead of kneading to keep the structure strong.
Bulk Fermentation: Letting the Dough Rise
Once mixed, let the dough ferment for 4 to 6 hours at room temperature. Keep it in a covered bowl to prevent drying out. Stretch and fold the dough every 30 minutes to build strength. By the time fermentation is complete, the dough should expand to twice its original size. A warm spot (around 75°F) helps the yeast work faster.
Shaping and Final Proofing
Carefully form the dough into a circular or oval shape. Use a banneton (proofing basket) to support the shape. If the dough sticks, dust the basket with rice flour. Let it rise for another 1 to 2 hours at room temperature or refrigerate overnight for better flavor. Chilled dough is easier to handle and scores better before baking.
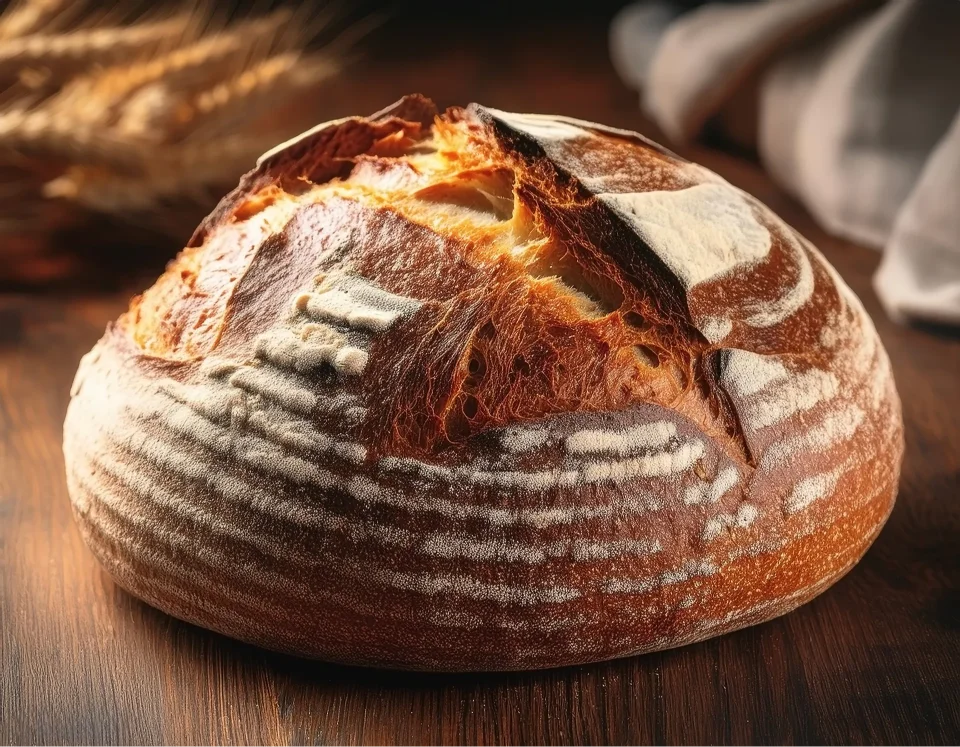
Scoring and Baking in a Dutch Oven
Before baking, score the dough with a bread lame to control how it expands in the oven. A deep slash creates a beautiful crust. Bake in a preheated Dutch oven at 475°F for the first 20 minutes with the lid on. This traps steam, giving the bread a crispy crust. Take off the lid and continue baking for 15-20 minutes until it turns golden brown.
Once done, let the bread cool completely before slicing. Next, let’s go over some pro tips to perfect your sourdough loaf!
Tips for Achieving the Perfect Sourdough Loaf
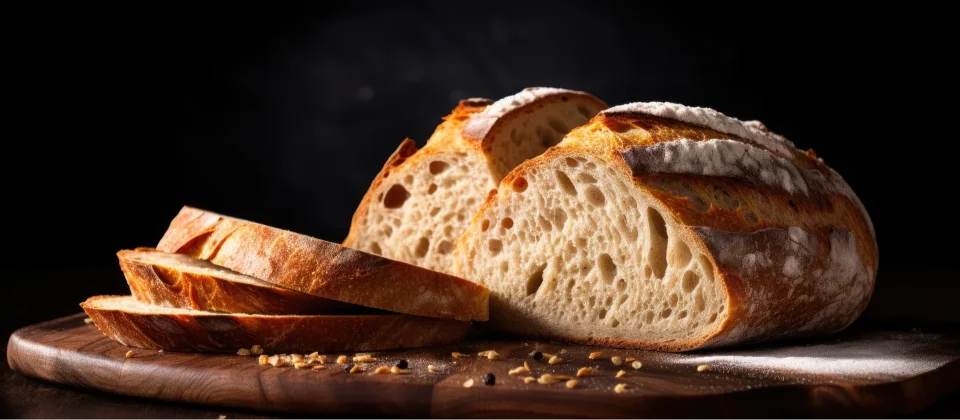
How to Get an Open Crumb Structure
A light and airy crumb comes from proper hydration and gentle handling. Use at least 70% hydration (water to flour ratio) for a softer dough. Stretch and fold instead of kneading to keep the air pockets intact. Avoid overhandling, which can deflate the dough. A well-risen sourdough with strong fermentation creates the best open crumb.
Secrets to a Crispy Crust
A crispy crust needs the right baking temperature and steam. Bake at 475°F for the first 20 minutes with a lid on to trap moisture. Remove the lid for the final 15-20 minutes to create a deep golden color. Spraying water inside the oven or adding a tray of hot water can boost steam, giving the bread a better crust. Let the loaf cool fully before slicing to keep the crust crisp.
How to Avoid Dense or Gummy Sourdough Bread
Overproofing weakens the dough, while underbaking leaves the inside gummy. Watch for proper fermentation. The dough should double in size but still feel slightly firm. The poke test helps—press a finger into the dough. If it springs back slowly, it’s ready. Always bake long enough to let moisture escape. A fully baked loaf sounds hollow when tapped on the bottom.
Storing and Preserving Sourdough Bread
Keep sourdough fresh by wrapping it in a clean towel or storing it in a bread box. Steer clear of plastic bags, as they can soften the crust. For longer storage, freeze sliced sourdough in an airtight bag. Toast frozen slices directly for quick, fresh-tasting bread.
With these tips, you can bake perfect sourdough every time. Next, let’s troubleshoot common baking mistakes!
Typical Sourdough Baking Errors and Ways to Correct Them
Why Your Sourdough Didn’t Rise Properly
If your sourdough loaf didn’t rise, the starter might be weak. Make sure it’s bubbly and passes the float test before using it. Fermentation time also matters. When the dough is too chilly, the yeast becomes less active. Keep it in a warm spot, around 75°F, to help it rise. If needed, let it ferment longer to build strength.
How to Prevent a Dense Loaf
A dense loaf often comes from improper gluten development. Folding works better than kneading for sourdough. Stretch and fold the dough every 30 minutes during bulk fermentation. This builds structure without deflating air pockets. Also, check hydration—drier dough is harder to work with, while higher hydration creates a better crumb.
Avoiding Overproofed or Underproofed Dough
Timing is key for sourdough bread. Overproofed dough becomes too weak, while underproofed dough stays dense. Use the poke test to check readiness. Lightly press the dough—if it springs back too quickly, it needs more time. If it stays indented, it’s overproofed. Stick to a schedule and adjust based on room temperature.
Ways to Enhance the Taste of Your Sourdough Bread.
The great flavor comes from proper fermentation. Long, slow fermentation enhances taste. Try a cold overnight proof in the fridge for a more complex flavor. The type of flour also matters. Whole wheat or rye flour adds depth, while bread flour keeps the texture light. Experiment with different flours to find your perfect balance.
With these fixes, you’ll bake better sourdough every time. Now, let’s wrap it up with a final summary!
Classic Sourdough Bread Recipe
Classic Sourdough Bread Recipe
Ingredients
Method
- Mix the Dough – In a large bowl, combine flour and water. Mix until no dry flour remains. Cover and let rest for 30-45 minutes (autolyse).
- Add Starter and Salt – Mix in the sourdough starter and salt. Fold the dough until well incorporated.
- Bulk Fermentation – Cover and let the dough rise for 4-6 hours at room temperature. Every 30 minutes, stretch and fold the dough to build strength.
- Shape the Dough – Lightly flour a surface, shape the dough into a round or oval, and place it into a floured banneton or bowl.
- Final Proof – Cover and let it rise at room temperature for 1-2 hours or refrigerate overnight for deeper flavor.
- Preheat and Bake – Preheat oven to 475°F (245°C) with a Dutch oven inside. Transfer the dough onto parchment paper, score the top, and place it in the Dutch oven. Cover and bake for 20 minutes.
- Finish Baking – Remove the lid and bake for another 15-20 minutes until golden brown.
- Cool and Enjoy – Let the bread cool completely before slicing.
FAQs
1. Why is my sourdough bread dense and heavy?
A dense loaf can result from underproofing, a weak starter, or improper gluten development. Ensure your starter is active, and let the dough ferment long enough. Use stretch and folds to build the structure.
2. Why is my sourdough crust too hard?
A thick, tough crust can come from overbaking or lack of steam. Try reducing the bake time slightly and ensuring proper steam in the first 20 minutes.
3. How do I store sourdough bread to keep it fresh?
Store it in a bread box or wrapped in a towel to keep the crust crisp. Avoid plastic bags unless freezing.
4. How can I make my sourdough more flavorful?
Try a longer fermentation, cold proofing overnight, or using whole wheat or rye flour for a deeper taste.
5. Why does my sourdough have a gummy texture inside?
Gummy bread is often underbaked or overhydrated. Bake longer and ensure proper fermentation before baking.
Conclusion
Making classic sourdough bread takes time, but the results are worth it. Start with a strong sourdough starter to ensure a good rise. Mix your dough, let it ferment, and shape it carefully. Use a Dutch oven to create steam and get a crispy crust. Finally, let the bread cool before slicing to enjoy the perfect texture.
Baking sourdough is a skill that improves with practice. Try using various flours, adjusting the water content, and changing the fermentation duration to find what works best for you. Each loaf teaches you something new. Keep adjusting until you find your perfect recipe.
Have you tried making sourdough at home? Share your experience in the comments! Let’s keep baking together!
For more bread recipes, try our:
- The Ultimate Guide to Making Perfect Bread Pudding Every Time
- Easy Banana Bread Recipe: A Classic Treat in Just 10 Steps
For more recipes, try also our:
- 10 Best Smoothie Bowl Recipes for a Healthy and Delicious Breakfast
- How to Make Homemade French Toast Like a Pro: Easy Recipe & Tips
- Mediterranean Couscous Bowl with Hummus, Olives, and Grilled Vegetables
- Pan-seared scallops with Saffron Risotto and Lemon Butter
- Pumpkin Ravioli with Sage Brown Butter and Parmesan Crisps
2 thoughts on “Classic Sourdough Bread: How to Make the Perfect Loaf at Home”